¶ Quick Links
- YouTube Event Reference Click here for the full list of all YouTube events and variables
- YouTube Sub-Action Reference Click here for the full list of all YouTube sub-actions
¶ Account
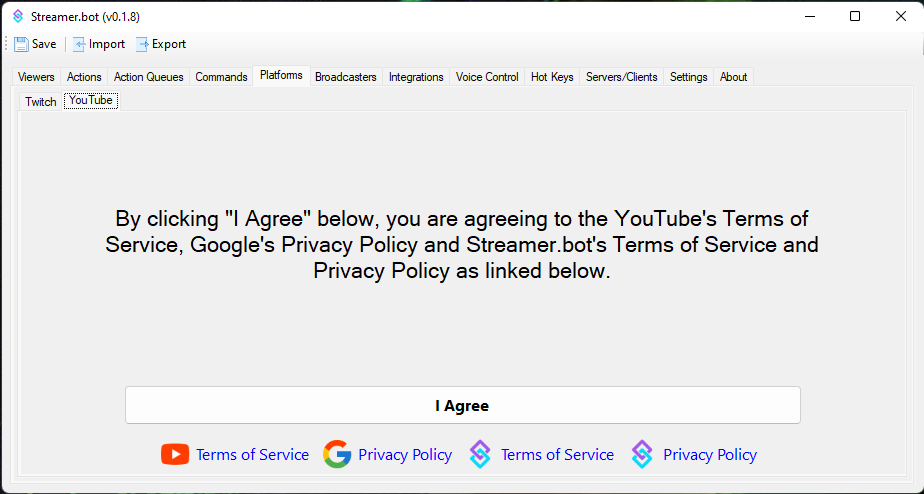
First, Open Streamer.bot then navigate to the Platforms tab, here you will have an extra tab called YouTube located in the second row of tabs click this. to continue be sure to agree to the terms and conditions of both YouTube and Google and Streamer.bot when you’re ready click the I Agree button.
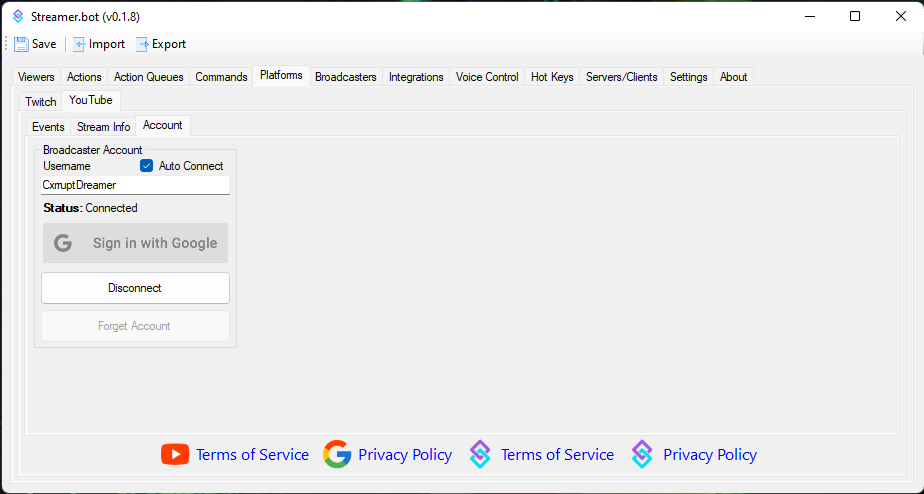
Now a third row of tabs will appear, Navigate to the Account Tab in this YouTube section. It should look like the one below.

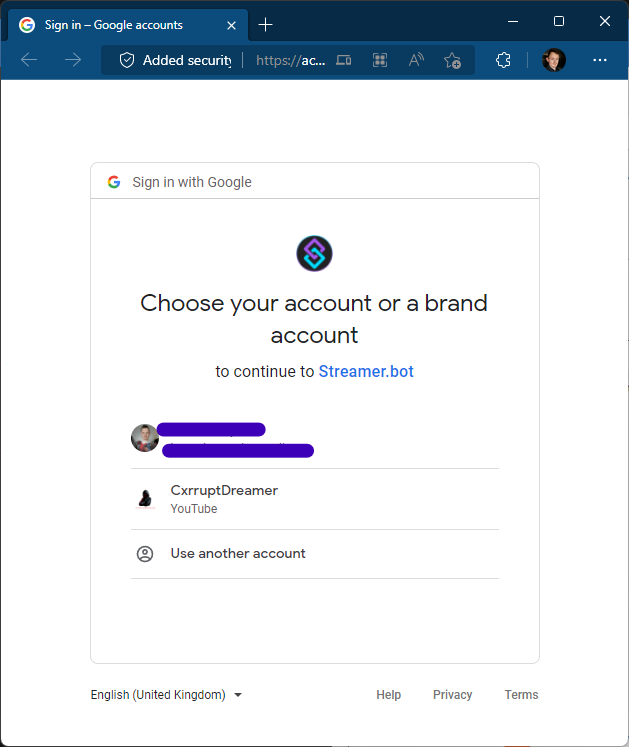
Next click the Sign in with Google button your default browser will open. In the browser you will need to login to Google. when you have done this, you will be presented with a similar screen to the one below here you will need to select your "YouTube" Account to proceed to the permissions page.
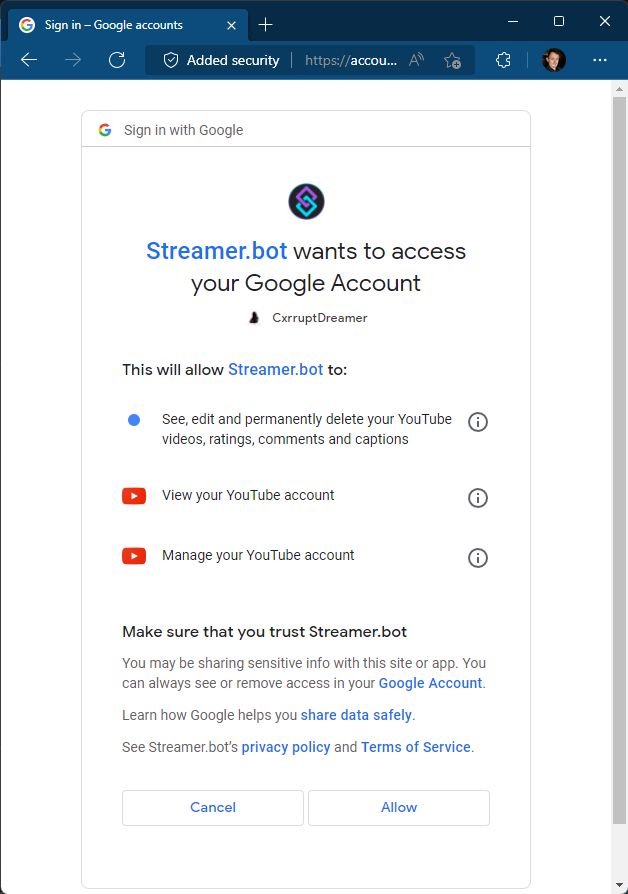
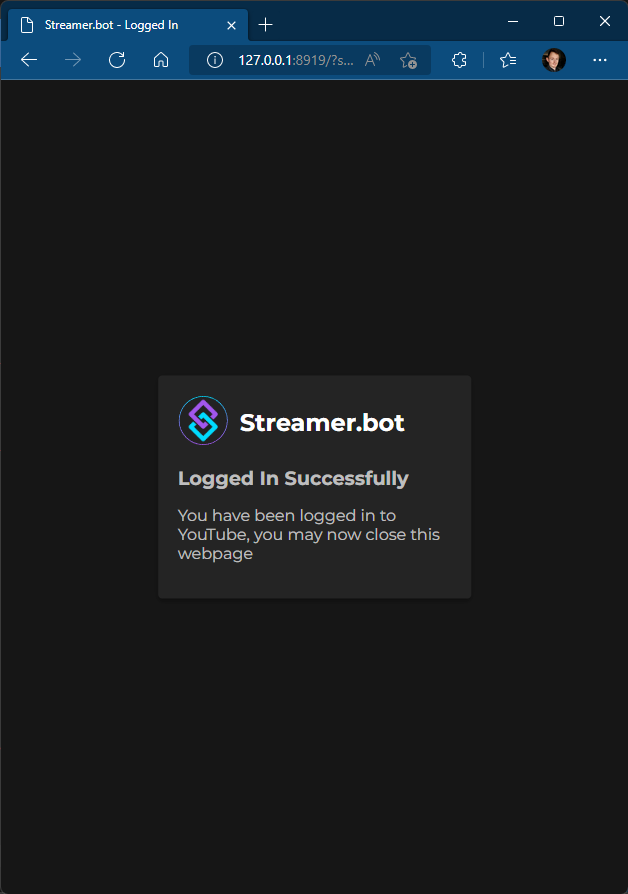
On the permissions page it will show you have Streamer.bot has access to if you’re OK with these permissions click Allow to continue. When the login is successful you will get this window in the browser at this point you can close the tab or browser window.
Back to Streamer.bot it should now be linked to YouTube account don’t forget to put a check mark next to the auto connect. Click the Save button.
That is, it you’re ready to level up that YouTube Streams.
¶ Stream Info
Now that Streamer bot is connected to your YouTube Account you can edit the stream information.
Note: This can only be done when you're live on YouTube
To get to this tab first, Open Streamer.bot (0.18+) then navigate to the Platforms tab, here you will have an extra tab called YouTube located in the second row of tabs click this navigate to the Stream Info tab.
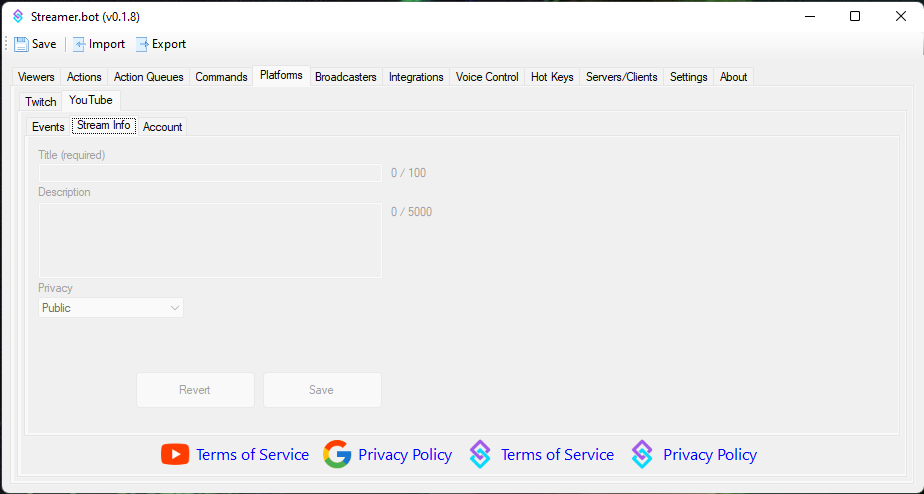
This is what it will look like when your YouTube stream is offline. As you can see in the image above the fields are greyed out. This is Normal behaviour. When you go live on YouTube these fields will become editable.
In this tab you can edit the title of the YouTube Stream, its description and the privacy of the stream
If you edit any of these fields, be sure to click the Save button inside the Stream Info tab to confirm the changes. Here you also see the Revert button this button will only revert the changes you have made to the stream’s information.
¶ Events
This is the part you have been waiting for what can Streamer bot do with your YouTube stream events well look no further.
To get to this tab first, Open Streamer.bot (0.18+) then navigate to the Platforms tab, here you will have an extra tab called YouTube located in the second row of tabs click this, then navigate to the Events tab.
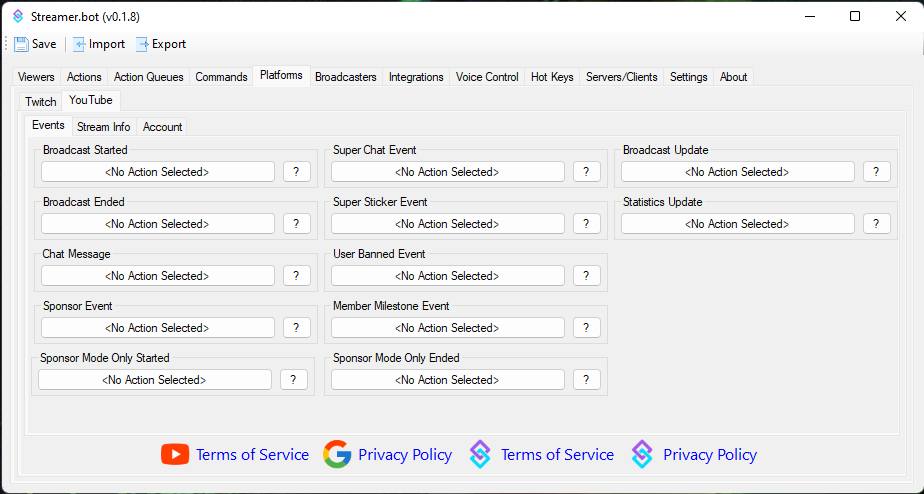
This tab is where you can assign the magic of Streamer bot to each of the events.
- Broadcast Started, Broadcast Ended, Broadcast Update
- Statistics Update
- Chat Message, Super Chat Event, Super Sticker Event
- Sponsor Event, Sponsor Mode Only Started, Sponsor Mode Only Ended.
- User Banned Event
- Member Milestone Event
- Membership Gifting, and Gift Membership Received
Assigning an action to these events works in the same way you have done with the Twitch actions.
Click the <No Action Selected> button under the event that you want to assign an action to. A pop-up window will appear like this one below.

Select the action you want to assign to the selected event. and then click Select this will now tie the action to the YouTube event. The Clear button will unbind that action from the event.
When you're all done click the Save button and you're done.